
This picture sent you here, didn't it?

Then, find a ton of photos or patterns that you love from the World Wide Web. You can do polka dots, stripes, chevron stripes, solid colors, anything you want. If you can't think of anything, do a search for "iphone cases" and steal some ideas. Hey, all's fair in love, war, and DIY. You know those cool wood cases that are like $40? I found a picture of wood and made my own for the cost of a sixth of a piece of paper. I also found a couple of interesting pics I had collected and filed away into my inspiration folder. You can do whatever you want. And if one of my inserts catches your eye, shoot me a comment and I'll send you the picture I used.
Now comes the hard part. Lol just kidding it's all pretty easy. Open up your favorite word processor. And upload your patterns onto it. And arrange them in the most economical way your can. I found that I could do two rows of three in portrait mode. Don't try to do two columns of three vertical patterns. It doesn't work. The iPhone 4 measurements are 4.5" by 2.31". I found that for the patterns, it was easier to size them down to 5" by 2.5" because then I didn't have to measure so tediously and it didn't matter when I cut them out. But for photos, you need to size them down and crop them correctly. Now print them out.

Next, pop in your favorite movie. Or your 2nd favorite movie. Shucks, it could be your least favorite movie, I don't care. Just pick something to distract your eyes and mind but not your hands.

I chose The Five People You Meet in Heaven.
Now you cut them out. Just lay your phone down on the paper and trace around it. Make sure the case is off the phone before you trace it. The cutout is gonna come out just a smidge too big anyway. Once it's cut out, pop it in your clear case and attach it to your phone. If the case doesn't stay on as tightly as it does without the insert, it means your cutout is too big. No problem, boss, just take it out and shave just a bit off the side and bottom.

See that lovely sailor boy on the left? I made him too big the first time,
so I had to reprint him in the exact measurements.
Put the insert back into the case. Trace around the case's camera hole. Take it out, cut out the traced hole. Yay, you're done! Now only a thousand more to go! (I told this was tedious. But you didn't listen. You said, "No we can handle it, puh-LEASE teach us!" Now look what you've gotten yourself into.)

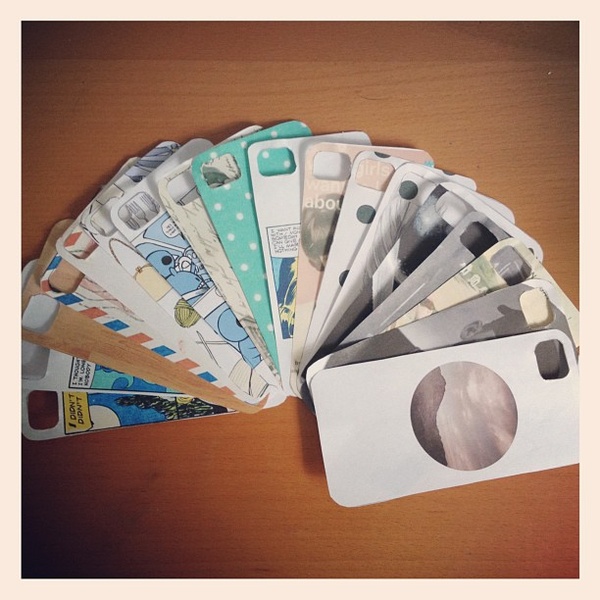
Look at all those options!
Oh, there you are. I didn't see you under all those paper scraps. What, you're done? Well, let's see! Put the case on! Oh my, well aren't you such a stylish, modern girl? (or boy. You could be a boy if you want.)

Bonnie, I love this post! I'm going to do this when I get my iPhone 5! Or I could have you do it.... ;)
ReplyDelete